

You’re working on the WordPress post that you’ve spent the last few days on. Your graphics design team sends you a 20 MB .tif file, which they insist must be uploaded uncompressed and in full resolution and then embedded on the post that you’ve been writing. Easy, right? It would be, but WordPress decides to place a 2 MB limit on your file uploads.
Before we begin, there’s a few questions that you need to find the answer to:
- Are you using a hosting provider or your own server?
- Do you have access to a configurable php.ini file (php configuration)?
- Why is your graphics design team sending you 20 MB image files? Better check on them and run a few virus scans on their system(s).
Understanding the Upload Limit
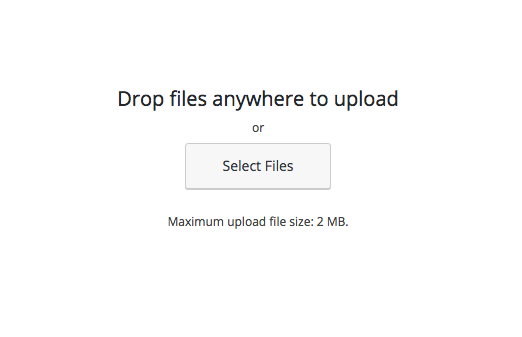
First, we need to set a few things straight. WordPress is not actually the entity that is limiting your file upload sizes. It’s your php settings that are limiting the upload of your album of cat videos that you’ve shot with your 6K camera. In the php.ini file, or the php configuration file, there is a setting that sets the maximum file upload size. Depending on your web host, this file upload limit could vary. Generally though, the limit sits at about a2 MB file.
So, this should be easy, right? Just edit your php.ini file to change the max upload size. However, there’s a few more things that you need to consider, and a few different methods that you could follow.
- If you have access to your php.ini file, skip ahead to the section on editing the php.ini file
- If you don’t have access to php.ini file (some web hosts), skip to the section on editing your theme files
- If none of the above works, go to the section on editing your .htaccess
Editing the php.ini File
If your web host lets you edit your php,ini file (call them if you’re not sure), editing the php.ini file is probably the best way of increasing your file upload size. Your first challenge is finding the actual location of your php.ini file. Across a system, there can be many php.ini files with only one of them actually loaded. If you’re using a hosting provider, your php.ini file is probably in the root directory of your site. If you own your own server, the php.ini file can usually be found by creating a phpinfo file with the following contents:
<?php phpinfo(); ?>
and then visiting the page. Look for the field labeled with something like “Loaded Configuration File”. That’s the file you’ll want to modify. Don’t forget to delete the phpinfo file afterwards, as it might contain information that you probably don’t want to reveal to the world at large.
First, backup your php.ini file to make sure that you can restore a working version if something doesn’t work properly afterwards. Fire up your favorite text editor and open up this configuration file. Add the following lines or modify them if they already exist:
upload_max_filesize = 64M

post_max_size = 64M

max_execution_time = 300
Basically, this will change the max upload size to 64 MB and adjust the max post request size accordingly so there are no conflicts. In addition, the maximum execution time is adjusted to ensure the completion of the largest uploads.
After you’ve saved the file, skip ahead to the conclusion for some finishing touches.
Editing Theme Files
This method is mainly geared towards users who can’t access their php.ini file. However, this method does modify a theme file, which means that every time the theme updates, the file upload limit will change back to the way it was before. If you want a more permanent solution, you should try the next section, modifying the .htaccess file.
Navigate to the folder where your theme is located (usually /wp-content/themes/{theme_name}). From here, you’ll want to edit your functions.php file.
In the functions.php file, add the following code at the bottom of the file:
@ini_set( 'upload_max_size' , '64M' );

@ini_set( 'post_max_size', '64M');

@ini_set( 'max_execution_time', '300' );
Basically, this accomplishes a similar task to the php.ini modification, but in a different location.
After you’re done, go to the conclusion for some more finishing touches.
Editing .htaccess
.htaccess is a file that should be located in the root directory of your server, if it’s based on something other than Windows Server. This method is also geared towards people who can’t edit their php.ini file. However, this method should last through updates of your theme, unlike the last one.
Before you edit .htaccess, make sure to have a backup of it in case something doesn’t turn out right.
Open up .htaccess and add the following lines:
php_value upload_max_filesize 64M

php_value post_max_size 64M

php_value max_execution_time 300

php_value max_input_time 300
This effectively does the same thing as the php.ini method. Now, go to the conclusion for finishing touches.
Conclusion
Now, we need to restart our webserver. If you have access to a shell on your server and you’re running apache, go ahead and type this at your terminal:
sudo service apache2 restart
If you’re not running apache or can’t access a terminal, find the applicable restart command online or call your hosting provider.
Now, go to the media upload page. Hopefully, you should see a new limit on file size. Now you can get around to uploading that possibly infected 20 MB file.
If this didn’t work, try another method. If none of them work, then your hosting provider is probably doing something weird. Give them a call and ask them to increase your php file upload maximum size. Some hosts will do this for you, while others may not be so cooperative.
Good luck!

You could always just use a lossless data compression algorithm to make the file size smallerm. I would recommend inside out compression XD